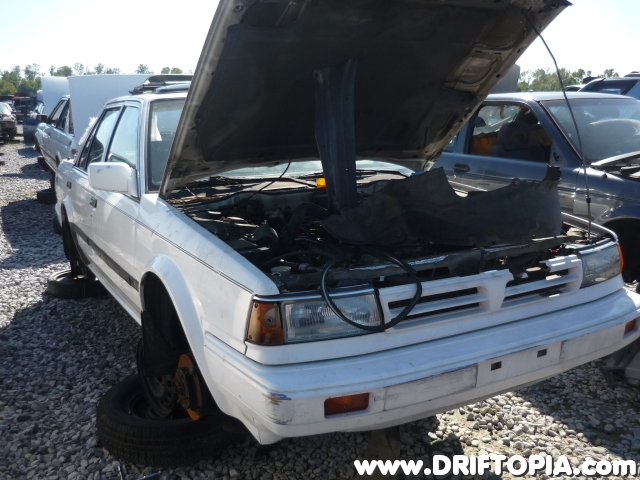
This install guide highlights variations for the installation of solid aluminum subframe bushings into the Nissan 240sx. The kit used was purchased from niperformance,org through ebay. The kit includes the bushings, solid rubber inserts (optional) and an install dvd. Although the video on the dvd is a thorough and straight forward guide there were a few areas that I used alternate methods on. The reasons are described below so watch the dvd, read this article and then decide which methods suit your needs.
Adjustment 1: Factory Bushing Removal
The dvd shows the removal of the factory bushings by lighting the rubber portions on fire with a torch. (burn the bushings out) This is actually not a bad process in and of itself unless, like myself, you are performing this install in an area that may attract unnecessary attention. Setting something on fire in my driveway is not an option in my neighborhood. My neighbors are pretty up tight and I didn’t want to give them an excuse to call the fire department. So alternately, after cutting the center sleeve out of the bushing with the reciprocating saw, I then made a vertical cut through the remaining rubber and cut the bearing sleeve as described after the burning in the video. (Take care not to cut through the subframe) I then took a flathead screwdriver and lined the edge (thin part) up with the cut. Hitting the handle downwards with a mallet, the edge of the screwdriver will dive into the groove of the cut and split the bearing sleeve open. Once it is split all the way, hammer the bearing sleeve out from the bottom.

A factory bushing with the inner and outer sleeve intact.

The inner sleeve removed.
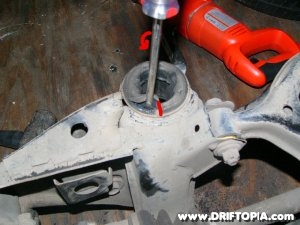
You will make a vertical cut and shown above, taking care not to cut the subframe. As pictured, the screwdriver will need to rotate 90 degrees and placed in the cut groove denoted by the line. Them hammer the groove open.

The bearing sleeve (circled) will either split or in this case bend, at which point you will be a ble to hammer it out from the bottom.
Adjustment 2: Installing the New Bushings
After removing the bushings from the freezer, I ran into a problem installing the bushings as parts of the edges would shear off and aluminum pieces would prevent the bushings from seating right. To remedy this I recommend not only fully sanding and smoothing the inside of the bushing collars on the subframe but also apply a liberal amount grease to the mating parts. Once this was done the new bushings were still an extremely tight fit but they would mate flush when fully torqued down.

It is recommended to freeze the bushings to ease the install.

The new bushings installed in the subframe.
Adjustment 3: Reinstalling the Subframe
During my first attempt at reinstalling the subframe, the opening in the bushings was simply not large enough to accommodate the factory mounting points. So this turned into a test fit, get stuck, remove, bore the holes a little and repeat process. in the end, I used a drill bit and slightly increased the internal diameter of the bushings. I then applied white lithium grease to the mounting points and was able to get the subframe back on with just a small gap between the top and the frame. A few whacks with a mallet drove the subframe completely on.

The reinstalled subframe.