MR2 Spyder- Permanently Mounting the ScanGaugeII
Oct 10, 2008 Project MR2 Spyder (DD), Tech (MR2 Spyder), Uncategorized
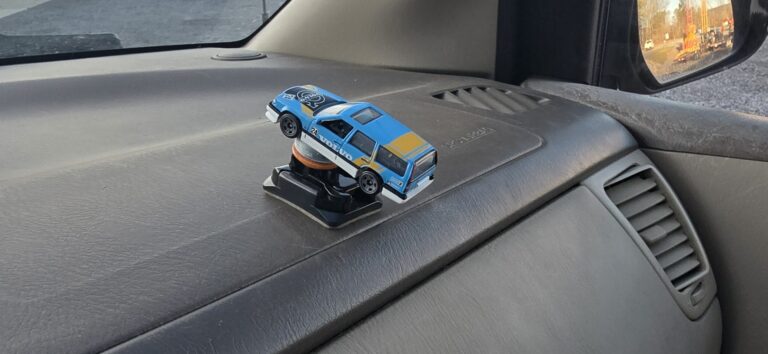
The ScanGaugeII is a small automotive computer that interfaces with the OBDII port of the MR2 Spyder. It contains a small LCD screen that can be used to display the motor’s factory sensors in realtime. Although the ScanGaugeII is a multipurpose device that can display a wide variety of values ranging from MPG to cost per mile most enthusiasts will use this gauge to measure up to four factory gauge parameters at one time. In my case, i am using the ScanGaugeII to simultaneously measure coolant temp, inatke air temp, volts and timing. The following is the method I used to cleanly and permanently mount the ScanGaugeII to the upper center console panel of project MR2 Spyder.
- Pull the indicated knobs off of the panel.
- Remove the indicated screws and then pull the panel out of the dash.
- With he panel removed, unplug the clock by depressing the clip where indicated.
- After unplugging the clock, set the panle aside.
- Flip to the back of the panel and remove the circuit board of the clock by lifting the 4 indicated tabs.
- Once the tabs are lifted, pull the clock's circuit board out of the housing.
- Press the two indicated tabs to pull the clock cover from the panel.
- Flip the ScanGaugeII over and remove the 4 screws that hold the housing together.
- Now pull the back off of the ScanGaugeII.
- Line the removed piece to the area where the clock was removed on the panel. Make sure that you have the ScanGaugeII back piece aligned in the upright position.
- At this point, starting with a small drill bit, create mounting holes in the ScanGaugeII piece and the dash panel. (NOTE: These holes were created through both pieces at the same time to ensure that the holes remain aligned. The image above was taken afterwards to show how the holes should correspond.)
- This image shows the general idea behind mounting the gauge. Small bolts will be placed through the back of the ScanGaugeII panel and then through the dash panel.
- I ended up using three holes with small bolts to connect the back of the ScangaugeII to the dash panel.
- The bolts are then secured with nuts on the back side of the dash panel. The back of the ScanGaugeII is now firmly attached to the panel.
- Once the back of the ScangaugeII and the dash panel are attached, reinstall the circuit board and front plate of the gauge. There will be just enough room to tighten the 4 screws with a small electronics screwdriver.
- Before reinstalling the panel, snake the end of the ScanGaugeII cable through the old clock opening as shown.
- Plug the cable into the back of the ScanGaugeII and the reinstall the dash panel. The end result will look like this.
- Picture of the ScangaugeII at night.


