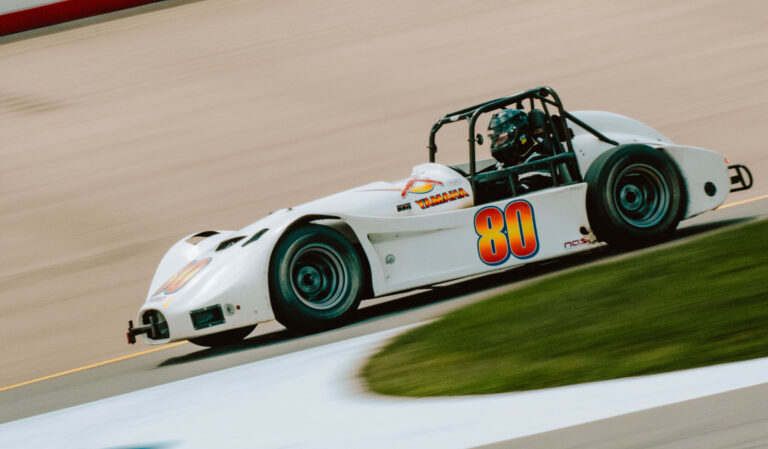
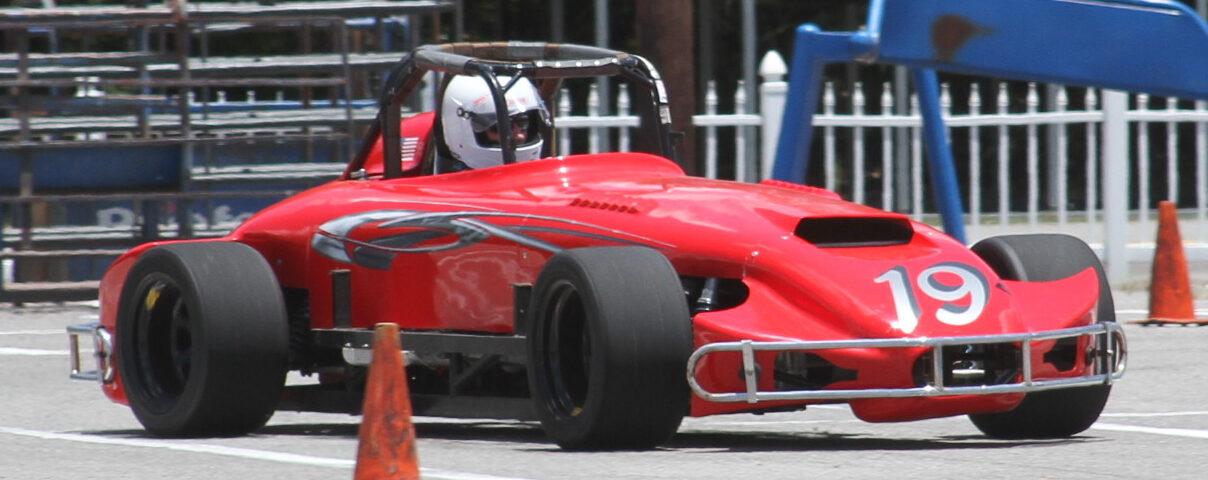
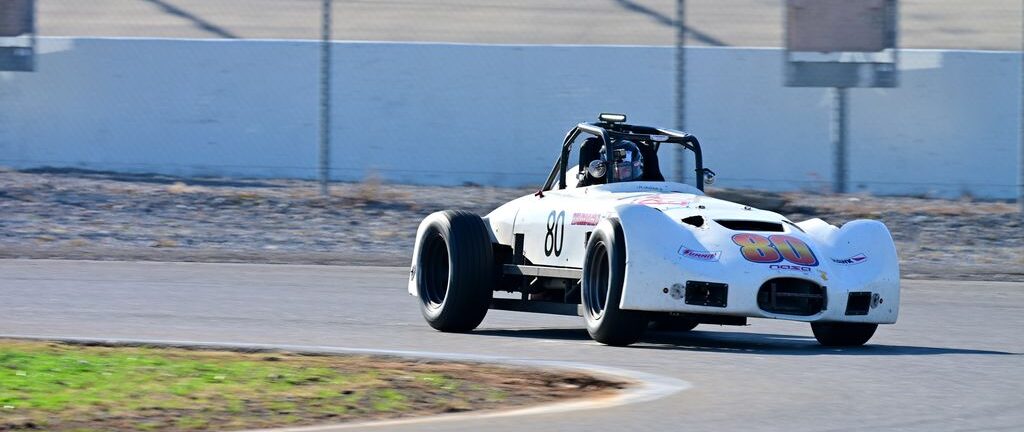
After my deep dive into Classing the Thunder Roadster, it is exceedingly clear that Yamaha-powered variants are running at a significant disadvantage. Furthermore, I am on a quest, so to speak, to find a competitive, sub-20k racecar that punches well beyond its price point. And since the Spec racing price creep has not ignored the GTR and TRX series, with builds easily passing 30k, I’m going to focus on a custom build. One that focuses on optimization first. This makes weight reduction the first target. I achieved a 90-pound reduction on my first pass. Significantly closing the power-to-weight deficit. And dropping over a second of lap time at my home track as a result.
Reducing the Power Gap (2 Targets)
My goal is a little ambitious, but something I believe is very doable. Yamaha-powered Thunder Roadsters can be found for as little as 5k running. Typically between 5k and 8k with a slightly higher premium for the liquid-cooled head. My car starts with a 15-to-1 power-to-weight ratio and needs to be 12-to-1 for Super Touring 4. And later, 10.5 to 1 and better to be on parity with Hayabusa-powered builds in GTR and TRX. I do want to note that what I am doing is not Spec legal for Prep Level 2 GTR and TRX competition. However, it is a great engineering project, and I will end up spending a third of the cost for potentially better performance.
Here is where I found 90 pounds.
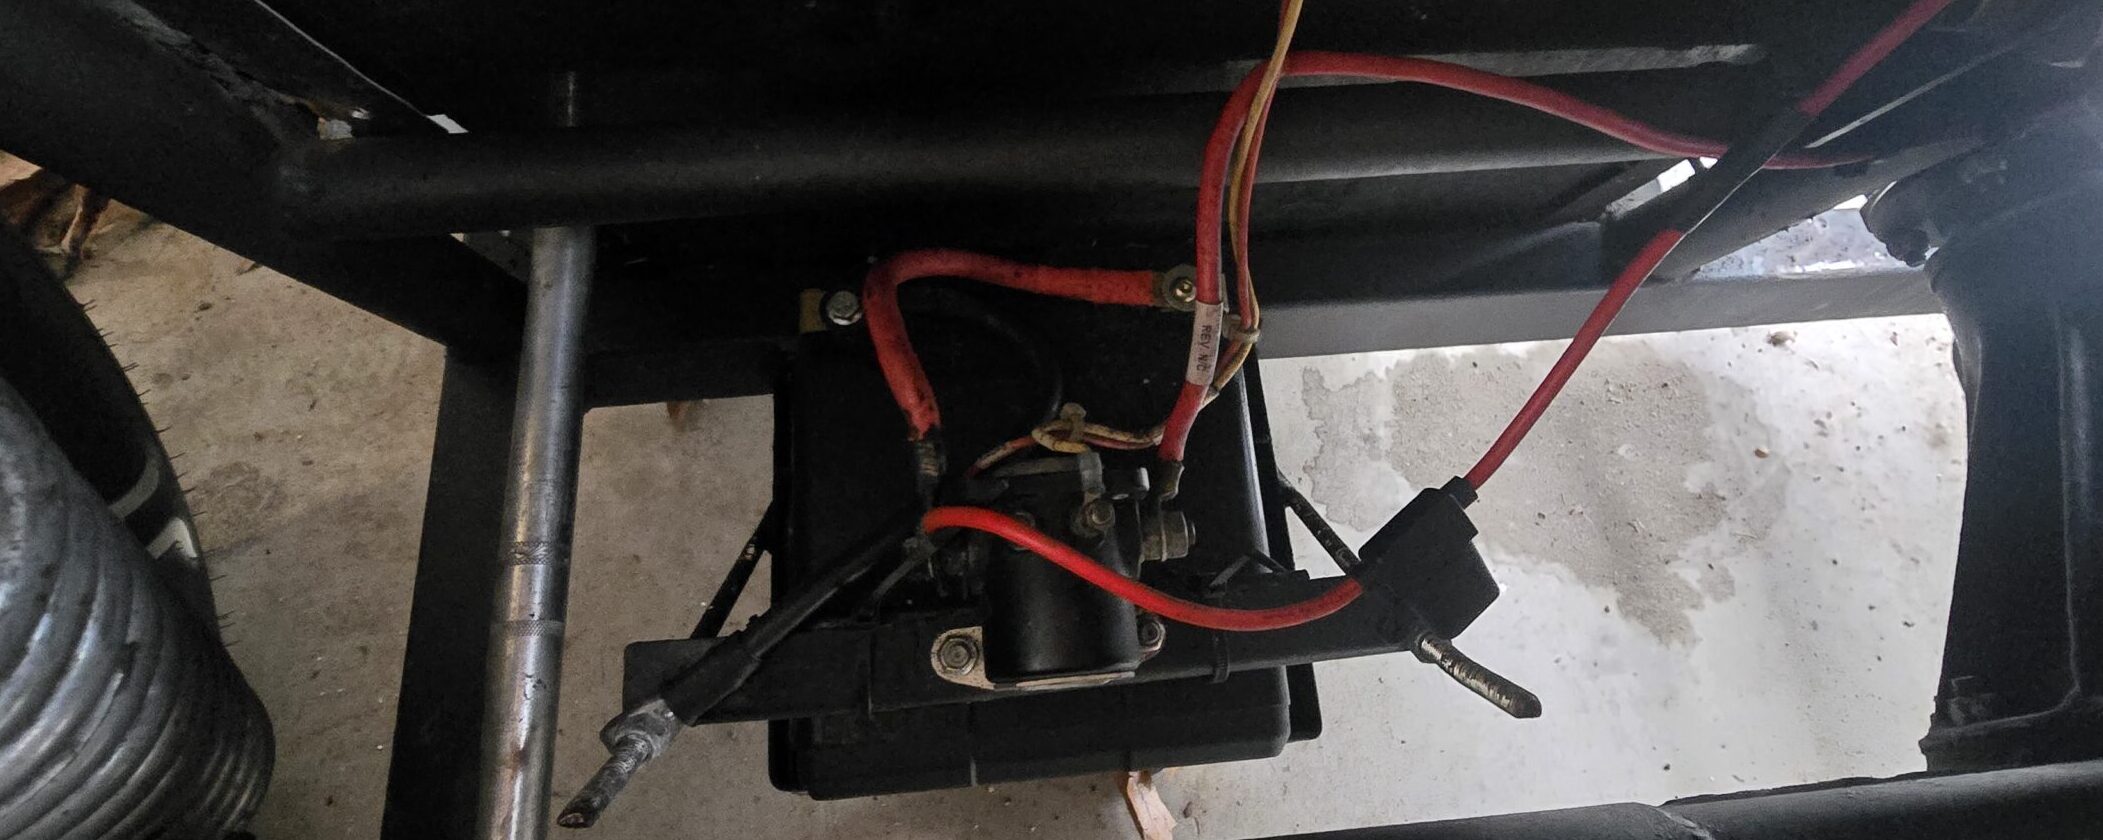
NOCO Lithium NLP30 Lightweight Battery
I saved 20lbs from the start by swapping the lead-acid battery out for the NOCO Lithium. I’ve talked about these batteries before, and in short, I use them in all of my racecars now. They cost the same as a new standard battery and, for the NLP30, weigh only 5 lbs. Furthermore, they are sold on Amazon, making them super easy to get. (You can read more: The Budget, Lightweight, Lithium-Ion Racecar Battery)
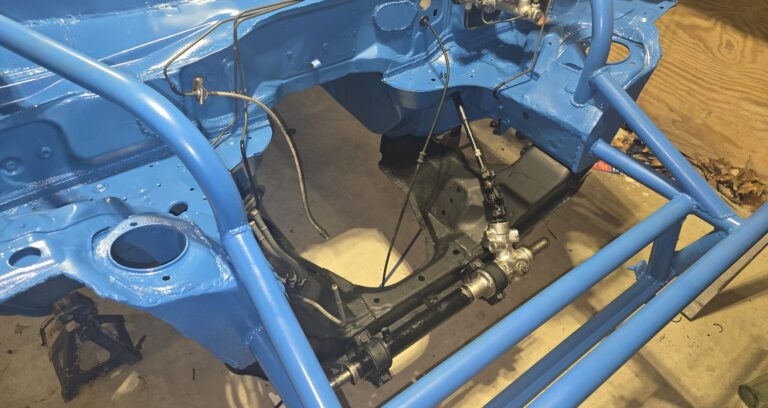
Side Pod Delete
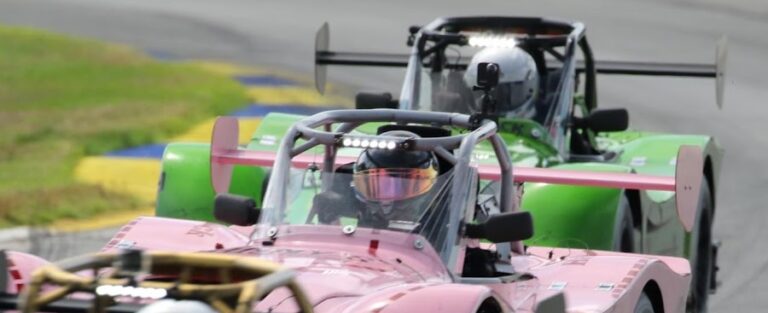
This one is a work in progress, but first, a little story. I came across a picture of an SCCA autocross Thunder Roadster build without the fiberglass side pods on, and it stirred something in me. First, how cool it looked. Then I tried to convince myself that deleting the side pods is a bad idea. But the more I thought about it, the more I concluded that the fiberglass side pods on the Thunder Roadster are perhaps unnecessary.
They may offer a negligible aero advantage if you ignore the fact that they are open on the bottom, giving turbulent air nowhere to go. But realistically, they are fragile and do not withstand racing conditions, cracking easily. And don’t even think about tire contact. Also, as far as I can tell, they are no longer in production, making good replacements hard to find. So, since they are simply cosmetic and not part of a safety structure, they can go.
The result is 11lbs off the left side and 15 lbs off the right. There is also a bolt-on bar intended to provide side support for the pods and questionable impact resistance. These are 8 lbs each. Bringing the total weight loss for the pod delete to 42lbs.
A little note on the bolt-on bars and why this mod is a work in progress. These bars bolt to another side structure that includes the top mount points for the side pods. This structure is welded to the chassis. I believe the bolt-on bar does provide an important safety benefit. Specifically, when running these cars in mixed groups with touring-style builds, they would help deter a car from occupying the space between the front and rear wheels on each side.
With that said, there are still further weight reduction opportunities here, since the welded structure is made of square and rectangular tubing and now includes unnecessary mounting points. I am going to cut these areas off the chassis and weld a single-piece side bar that extends parallel to the wheelbase. Making this out of roll cage material and triangulating it to the existing cage will save a few more pounds per side while allowing the roadster to run with its ‘elbows out’, so to speak.

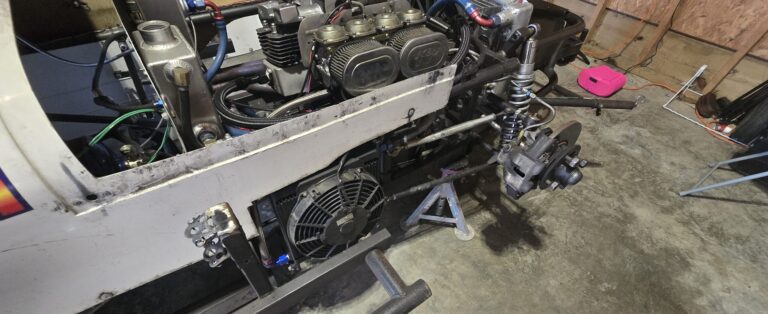
INEX Legend Front Brake Conversion
I feel like some pretty straightforward upgrades are overlooked in the Spec classes. For instance, the GTR class uses a 4-piston front and rear Wilwood brake conversion that costs $3100. For my purposes, I opted to borrow parts from the Legends car and instead upgrade to the 2-piston Wilwood’s. It costs a little under $1000 for all four corners. I will note that the previous owner had already converted the rear, so I only had to upgrade the fronts.
In my opinion, the 4-piston is too much brake for such a light chassis. Even with the original Toyota calipers up front, these cars seem to lock up easily. Something I have witnessed in multiple GTR and TRX 4-piston conversions. Is there such a thing as too much brake? Absolutely, especially when the tradeoff is balance and modulation.
And it gets better from there. By opting for the less expensive and significantly lighter 2-piston kit, I saved 10 pounds per front wheel. That’s 20 pounds of unsprung weight total! I have a full write-up on the conversion coming soon. In the meantime, this pic shows the substantial size difference.

Miscellaneous Items
To finish things out, I cut the wing mounts out of the chassis, shortened the exhaust, and removed unnecessary wiring. The wing mounts were run to the rear bottom tubing and saved 2 pounds, plus the nasty water they were always filled with. Shortening the exhaust removed a further 6 pounds. And finally, 1 pound from extra wiring. Taking my starting chassis weight of 1324lbs down to 1234lbs.
New/Current Power to Weight
Finding 90lbs brought the starting chassis weight down from 1324lbs to 1234lbs. I have assumed a race weight (car with driver) of 1500lbs, although I ran closer to 1550 most of the season. For simplicity, we can assume the current competition weight is now 1410 after the reduction. Improving the power-to-weight ratio to 14.1 to 1. That is effectively a 1 pound-per-horsepower improvement, and it most definitely showed.
The Results and Next Steps
Weight reduction and excellent race conditions yielded a 1.3 second improvement at Nashville Superspeedway. And there is more to come. I suspect I can find another 30 pounds in the car and another 20 off the driver. There is also a bit more power to squeeze out of the Yamaha engine, which should put me very close to the power-to-weight I need in Super Touring 4. As for the GTR class, I have a trick up my sleeve that will reduce the weight by an additional 30+ pounds and add a significant bump in horsepower and torque, all without saying the word Hayabusa. But the first focus is on optimizing all things Yamaha to see just how much performance can be gained with almost zero spend.